How to Beat Heolstor the Nightlord — Final Boss Weakness, Phases & Best Team Comp (Nightreign)
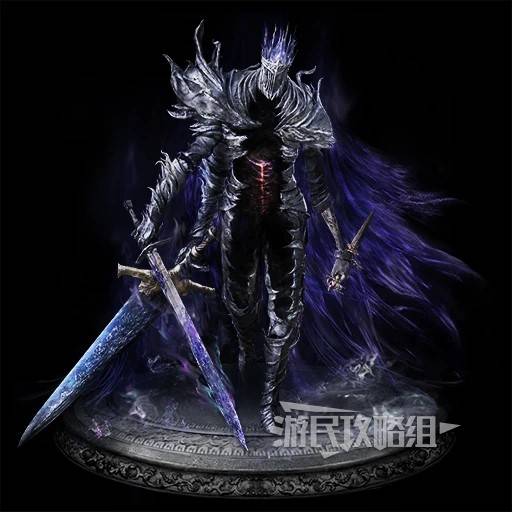
To beat Heolstor the Nightlord — the 8th and final boss, the hardest fight in the base game (difficulty 5/5, patch 1.03.4) — exploit its weakness to Holy and expect Bleed resistance. It has a dual HP bar, a four-element rotation in Phase 2, and three potential one-shot mechanics you must learn to dodge.
The 8th and final Nightlord. Dual HP bar, 4-element rotation in Phase 2, three potential one-shot mechanics. The hardest fight in the base game.
Quick Stats
Section titled “Quick Stats”| Boss | Heolstor the Nightlord (Night Aspect) |
| Weakness | Holy |
| Resistance | Bleed (immune) |
| Phases | 2 (dual full HP bars) |
| Difficulty | ★★★★★ |
| Unlock | Complete the other 7 Nightlords first |
| Workaround | Already-unlocked friend can invite you direct |
Lore Quote
Section titled “Lore Quote”“Before the endless night stands a figure indistinct — the source of night and the world’s enemy. The path is shown — the original Nightlord stands at the end of the footprints.”
Recommended Team
Section titled “Recommended Team”All members equip varied element Relics, especially Holy for slight defense reduction.
Optimal Trio: Balanced Composition
Section titled “Optimal Trio: Balanced Composition”- Ironeye: Long-range revive (critical for post one-shot)
- Raider: Team damage buff in Phase 2
- Executor: High burst DPS (drop bleed amplifier, use raw damage)
Why Not Pure Bleed
Section titled “Why Not Pure Bleed”Heolstor is bleed-immune. Executor mains must swap to raw damage Relics for this fight only.
Alternative Comps
Section titled “Alternative Comps”- Safe mage comp — Recluse + Ironeye + Raider: Recluse pelts Holy/elemental sorceries from max range, sidestepping the Phase 2 residue-zone death traps. Slower kill, highest survivability.
- Learning comp — 2× Ironeye + Raider: Two long-range Ultimates mean two revives banked for the liftoff one-shots, so a single mistake doesn’t wipe the run. Best while you’re still learning the fight.
Phase 1 — The Deceptive Calm
Section titled “Phase 1 — The Deceptive Calm”Behavior
Section titled “Behavior”- Primarily melee combos: sword slashes, thrusts, jumping smashes
- Each animation previews Phase 2 mechanics — observe carefully
- Slow-paced, misleadingly easy
Strategy
Section titled “Strategy”- Save flasks and Ultimates — Phase 2 doesn’t reset resources and demands more
- Focus on dodging fundamentals — only attack on confirmed safe windows
- Stay close — extends his attack windup, gives you more reaction time
- Bring diverse element damage to chip resistance bars
- Aim for smooth transition to Phase 2 with HP/FP/Ultimate buffer
Mistakes That Kill in Phase 1
Section titled “Mistakes That Kill in Phase 1”- ❌ Greeding too many attacks on combos that look finished but have follow-ups
- ❌ Burning Ultimate too early
- ❌ Rolling backwards instead of forward (forward dodging traps you in his arena center)
Phase 2 — Element Absorption
Section titled “Phase 2 — Element Absorption”First HP bar depleted → boss absorbs elemental power → completely new fight.
Element Rotation Mechanic
Section titled “Element Rotation Mechanic”- Boss rotates one element per 25% HP loss: Fire → Lightning → Magic → Holy (order varies)
- Each attack now leaves a persistent elemental damage zone on the ground
- CRITICAL: Roll FORWARD or SIDEWAYS — backward rolls land you in the residual zone = instant death
One-Shot Wipe Mechanic
Section titled “One-Shot Wipe Mechanic”- At 75% / 50% / 25% HP, Heolstor flies up to charge a one-shot
- The instant you see liftoff → sprint to the arena edge, away from center landing point
- Survivors get free burst damage during his recovery animation
Team Choreography
Section titled “Team Choreography”Raider: Hold Ultimate for element transitions (provides critical buff + shield)
Ironeye: Hold Ultimate for post-one-shot revives (most important role)
Executor: Pure DPS during boss cooldown windows
Three-Step Survival Principle
Section titled “Three-Step Survival Principle”Identify element transition → Avoid persistent zones → Burst during cooldowns
Phase 2 Element-Specific Tips
Section titled “Phase 2 Element-Specific Tips”| Element | Watch For |
|---|---|
| Fire | Lingering flame patches — minimum dodge distance is larger |
| Lightning | Chain attacks across the floor — keep moving |
| Magic | Magic spirals home in slightly — pre-emptive dodge |
| Holy | Bright pillars erupt — easier to read but deal massive damage |
”Phase 3”? — Clarifying the Final Holy Stage
Section titled “”Phase 3”? — Clarifying the Final Holy Stage”There is no separate Phase 3 — Heolstor is a two-phase boss. What players call “phase 3” is the final stretch of Phase 2: the last ~25% HP, when the element rotation reaches Holy and the liftoff one-shots (75% / 50% / 25%) come fastest. Treat the last quarter as the real exam:
- Holy pillars hit hardest — keep all-element or Holy-resist Relics active
- Bank one revive (Ironeye Ultimate) specifically for the final liftoff
- Don’t greed the kill — one backward roll into a Holy residue zone ends the run
Solo Strategy (Brutal)
Section titled “Solo Strategy (Brutal)”If attempting solo:
- Wylder or Ironeye recommended (kiting + survivability)
- Bring Dew of the Night (2 auto-revives)
- Pre-fight inventory: Holy buff item, anti-element greases
- Expect 30-50 attempts for first solo clear
Cheese / Skip Options
Section titled “Cheese / Skip Options”- ❌ No traditional “cheese” — boss design prevents it
- ✅ Friend invite bypass: an already-unlocked friend can invite you to fight him directly, skipping the 7 prior Nightlords
Post-Victory Unlocks
Section titled “Post-Victory Unlocks”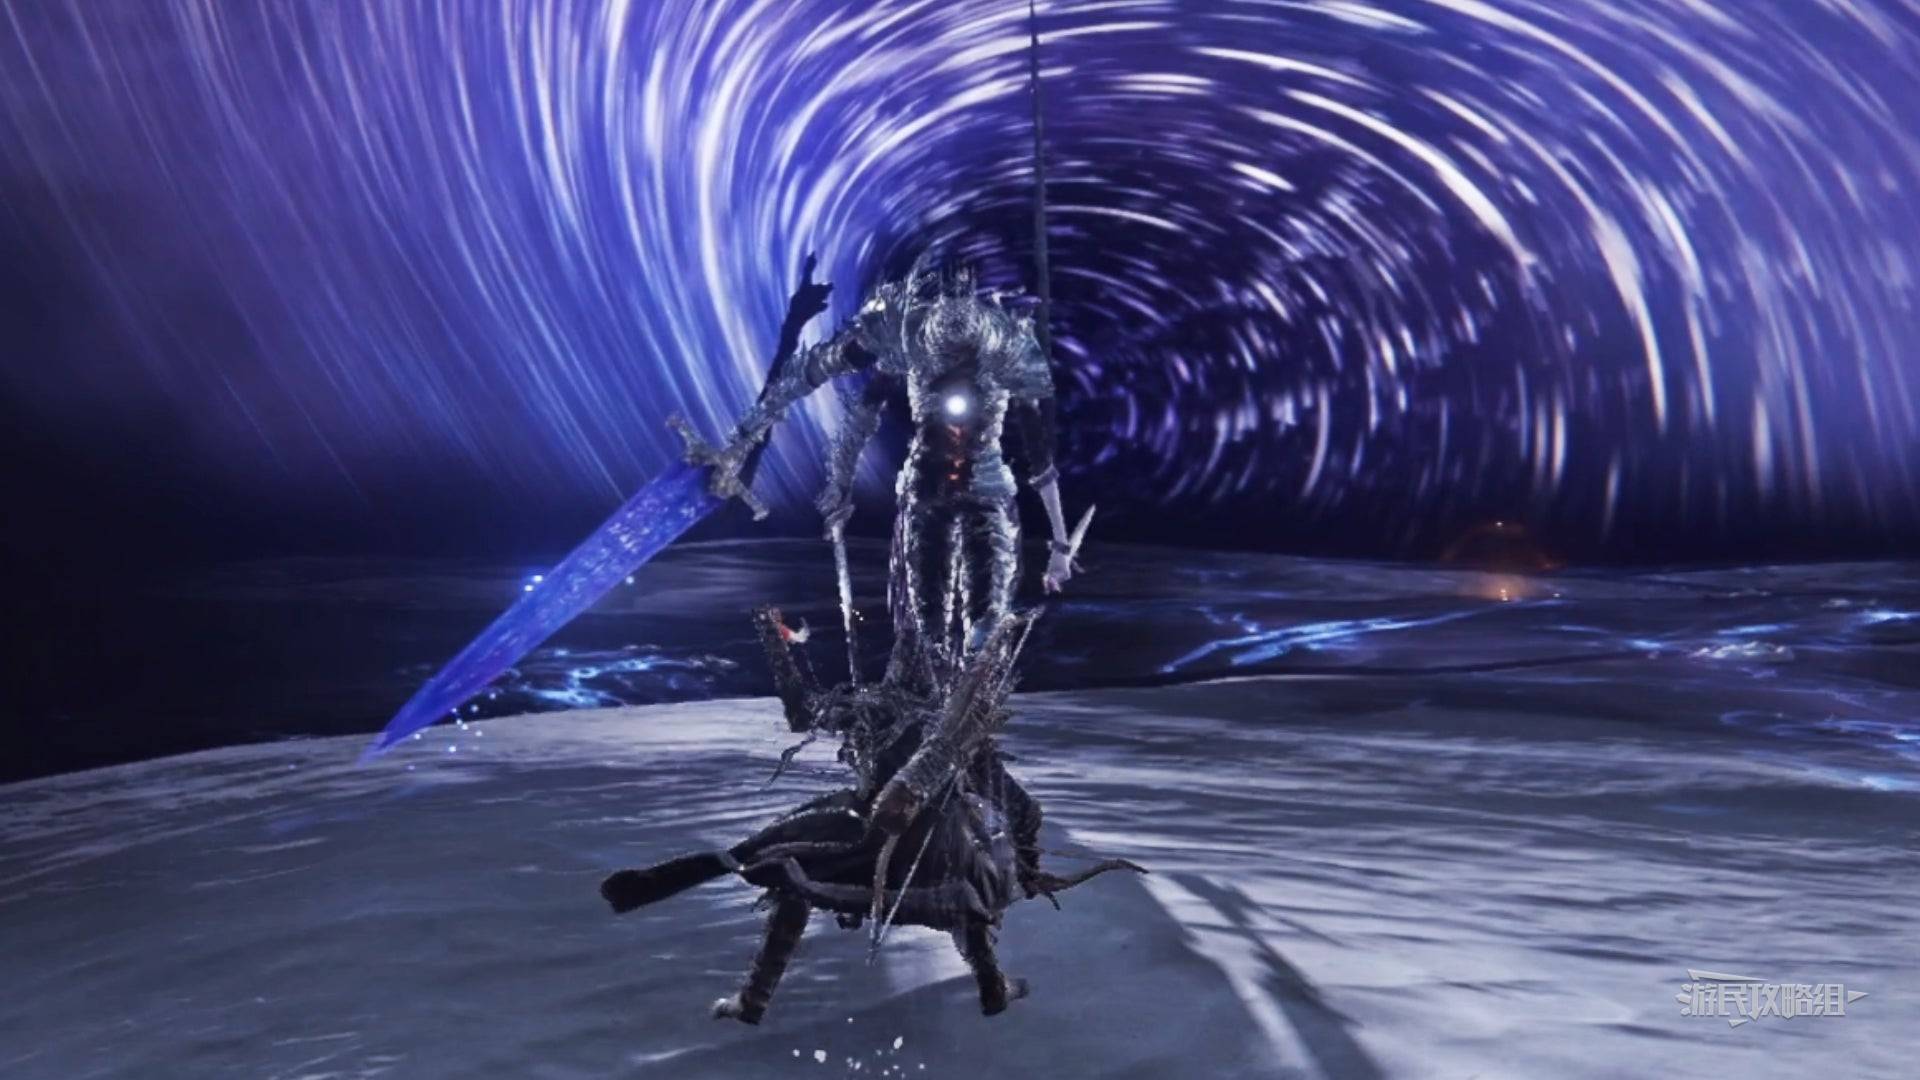
After defeat:
- Each player enters their own Roundtable Hold
- Talk to the NPC at the cliff edge → triggers ending cinematic
- Unlocks:
- Final outfit set in dressing room
- Last Vessel in Pot Merchant shop
- Dawn trophy
- All expeditions remain replayable
- Character side-quest logs in Roundtable can be revisited for individual character endings
Recommended Watch
Section titled “Recommended Watch”- Phase-by-phase video breakdown (Bilibili / YouTube)
- Search:
Heolstor solo clear ironeyeor(see Chinese guide)
Q: Can I respec Relics mid-expedition? A: No, Relics lock at expedition start. Plan accordingly.
Q: What’s the maximum allowed time per Nightlord fight? A: No hard timer in the boss arena itself, but the run’s overall timer doesn’t apply once Phase 1 starts.
Q: Why does my bleed do nothing? A: Heolstor is bleed-immune. Swap to raw damage Relics for this fight.
Q: Phase 2 keeps killing me in one shot — what am I missing? A: You’re rolling backwards. Forward or sideways only to escape elemental residue zones.
Q: How do I know which element is coming? A: Boss’s body glows with the current element color between transitions. Memorize the color cues.
Sources
Section titled “Sources”- Heolstor the Nightlord — Fextralife Wiki
- Night Aspect — Fextralife Wiki
- Gamersky (Chinese) (Chinese, source of detailed phase breakdown)